Lighting is one of the most critical elements in creating a bathroom that’s both functional and beautiful. The right lighting transforms a mundane space into a spa-like retreat while ensuring you can perform daily grooming tasks effectively. Whether you’re remodeling your bathroom or refreshing your current space, understanding both the creative possibilities and technical requirements ensures success.
This guide covers everything from inspirational design ideas to code compliance requirements, helping you make informed decisions that elevate your bathroom’s functionality and style.
Understanding Lighting Layers
Effective bathroom lighting uses three distinct layers working together to create balanced illumination:
- Ambient Lighting: This provides overall illumination, setting the room’s tone. Recessed lights, flush-mount fixtures, or ceiling-mounted options deliver general brightness. This foundational layer ensures the entire bathroom is adequately lit for safe navigation.
- Task Lighting: This focuses on specific areas where you perform grooming activities, primarily the vanity area and shower. Proper task lighting eliminates shadows and provides sufficient brightness for makeup application, shaving, and other detailed work.
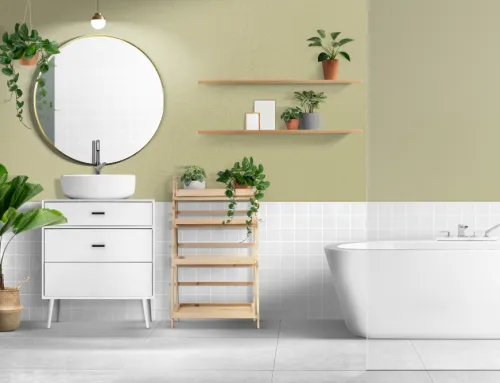
- Accent Lighting: This adds depth and highlights architectural features, creating visual interest. LED strips, backlit mirrors, under-cabinet lighting, and decorative fixtures fall into this category, enhancing ambiance and style.
Install dimmer switches to adjust brightness levels throughout the day. Bright task lighting works for morning routines, while softer ambient lighting creates a relaxing atmosphere for evening baths.
LED Lighting: Requirements and Benefits
Most cities and counties now require LED lighting fixtures in bathrooms for permitted remodels. This requirement specifies LED-certified fixtures, not simply LED bulbs installed in incandescent fixtures.
Why This Matters: Inspectors require LED-certified or Energy Star-rated fixtures because they prevent homeowners from swapping LED bulbs for non-LED options later. Non-LED fixtures will not pass inspection in permitted bathroom remodels.
Benefits of LED Lighting:
- 75-80% more energy-efficient than incandescent bulbs.
- Significantly longer lifespan (25,000-50,000 hours).
- Lower heat output (safer in enclosed spaces).
- Available in various color temperatures.
- Compatible with smart home systems for voice or app control.
LED technology has advanced considerably, offering warm to cool color temperatures that match traditional incandescent lighting while delivering superior energy performance.
Vanity Lighting: Getting It Right
Vanity lighting directly impacts your ability to perform grooming tasks effectively. Poor placement creates shadows that make makeup application and shaving difficult.
Best Practices for Vanity Lighting
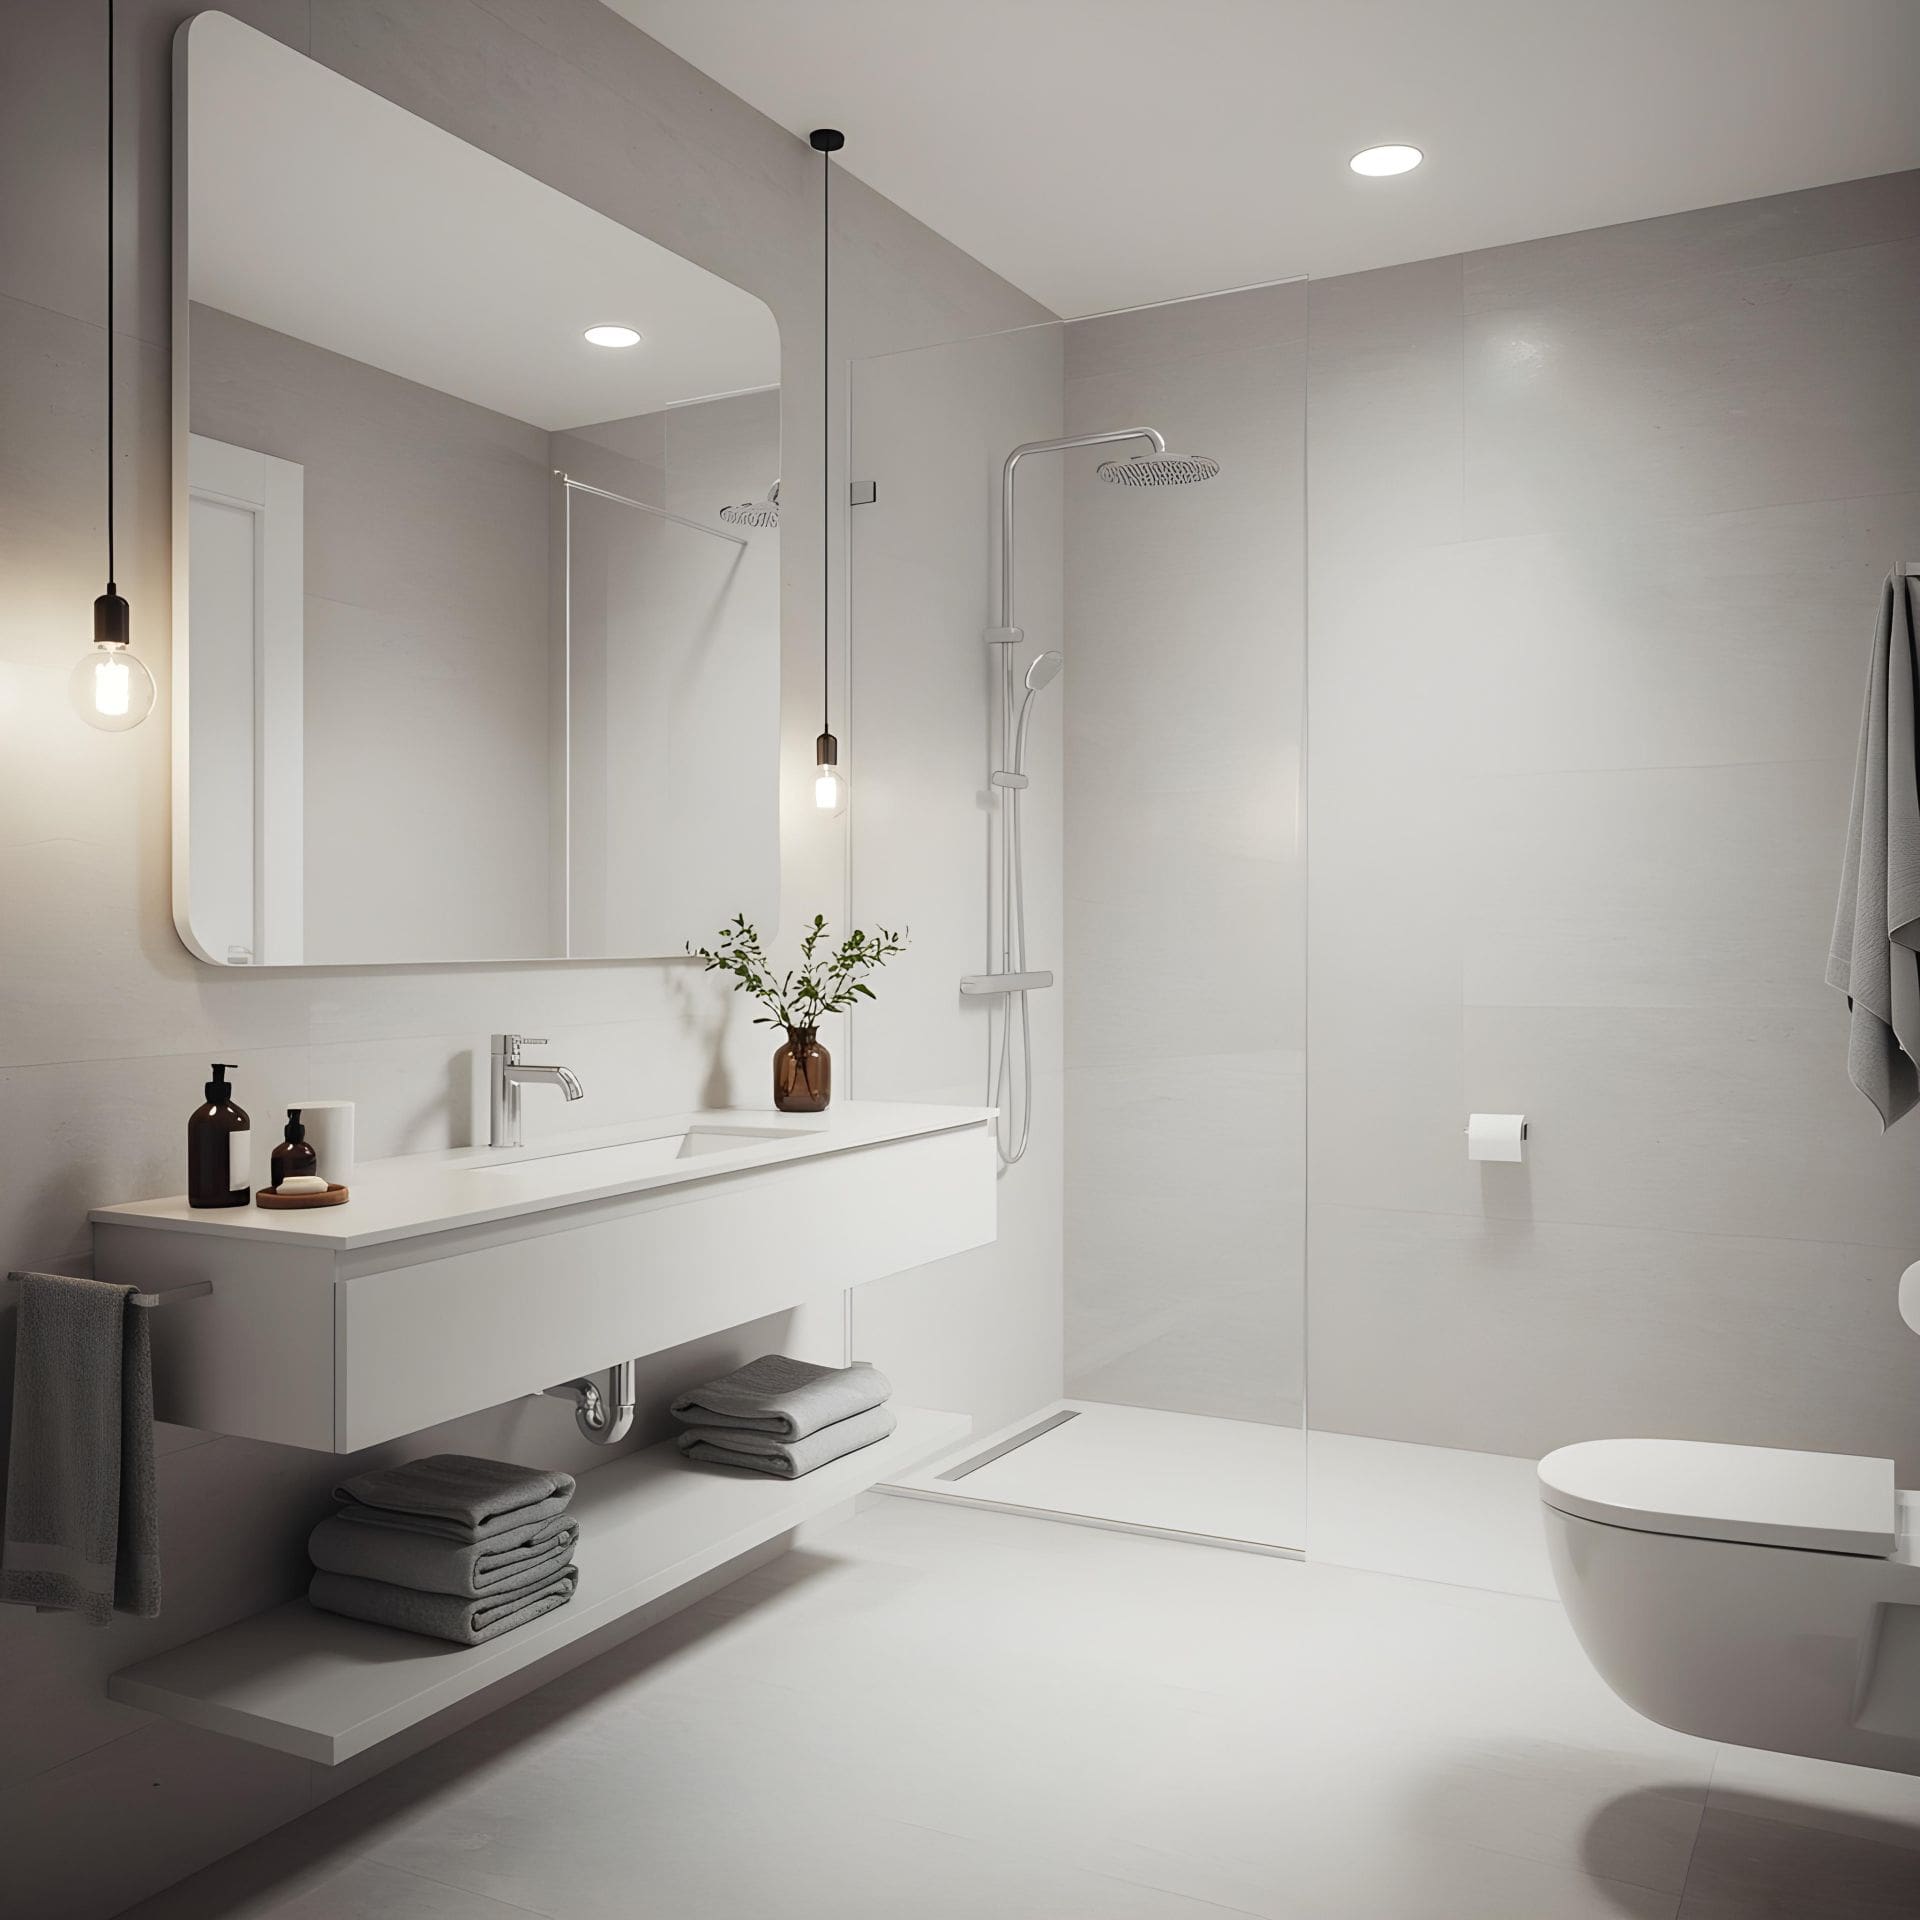
- Wall-Mounted Fixtures: Side-mounted sconces placed at eye level (approximately 60-65 inches from the floor) provide even, shadow-free illumination across your face. This placement proves far superior to overhead-only lighting, which casts shadows under eyes, nose, and chin.
- Sconce Placement: Position sconces flanking the mirror, spaced 36-40 inches apart for optimal light distribution. Consider how sconce placement affects mirror width, lights flanking a mirror will limit the mirror’s maximum size.
- Backlit Mirrors: LED-integrated mirrors provide even, diffused lighting while creating a sleek, modern aesthetic. Popular in contemporary bathrooms and hotels, these mirrors eliminate the need for separate vanity fixtures.
- Pendant Lights: Hang pendants 65-70 inches from floor to fixture bottom when installing above vanities. Choose fixtures with translucent or open shades to avoid harsh shadows. Glass pendants with Edison bulbs create warm glows, while metal or ceramic designs add industrial or bohemian flair.
- Single Overhead Fixtures: For smaller bathrooms where side lighting isn’t practical, position a single overhead fixture directly above the mirror’s center, ensuring it projects light forward rather than straight down.
Avoiding Common Mistakes
Never place recessed lights directly behind where you stand at the vanity, this creates shadows on your face. If using recessed-only lighting, position fixtures in front of the mirror, angled to illuminate your face evenly.
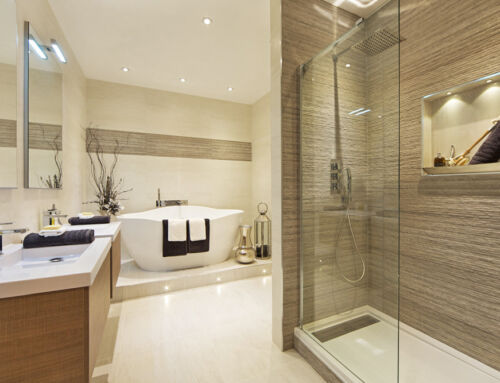
Shower and Tub Lighting
Proper shower and tub lighting ensures safety while creating ambiance.
- Recessed Lighting: Install recessed lights with waterproof trim rated for wet locations in shower areas. These provide clean, direct lighting without protruding fixtures that collect moisture.
- Code Compliance for Tubs: Hanging fixtures like chandeliers cannot be placed over tubs unless there’s at least 8 feet of clearance from the tub’s top to the fixture’s bottom. While chandeliers create dramatic style, recessed lights often provide the safest, code-compliant alternative for tub areas.
- Shower Niche Lighting: LED strips installed in shower niches create soft glows that highlight toiletries while providing subtle ambient lighting. This practical addition enhances both function and aesthetics.
- Color-Changing Options: Consider color-changing LED lights in showers for chromotherapy effects, blue for relaxation, energizing yellow for morning showers. These programmable options add spa-like luxury.
Creative Lighting Ideas
Statement Chandeliers
Bring luxury to your bathroom with chandeliers. Crystal designs offer classic elegance, while geometric pieces provide a modern edge. Ensure any chandelier is properly rated for damp or wet areas and meets code clearance requirements if installed near tubs.
Under-Cabinet and Toe-Kick Lighting
LED strips installed under vanities or along toe-kicks create floating effects, making bathrooms feel more spacious and modern. This subtle lighting works excellently as gentle nighttime illumination, guiding you without harsh brightness.
Accent Lighting Options
- Niche Lighting: Install small LED lights in recessed shelves to spotlight decorative items or create ambient glow.
- Backlit Features: Beyond mirrors, consider backlighting floating vanities or architectural elements for contemporary sophistication.
- Decorative Fixtures: Choose lighting that doubles as art, sculptural sconces, artistic pendants, or fixtures with intricate designs that reflect your personality.
Maximizing Natural Light
Natural light enhances any bathroom when available. Maximize daylight by keeping window treatments minimal, frosted glass or sheer curtains provide privacy while allowing light penetration.
For bathrooms without windows, consider solar tubes. These installations capture sunlight from the roof and funnel it into your bathroom, providing natural light benefits without traditional windows.
Strategic Mirror Placement: Position mirrors to reflect available natural light, bouncing it around the room to make spaces feel larger and brighter.
Technical Considerations
Fixture Ratings
Bathrooms require fixtures rated for moisture exposure:
- Damp-Rated: Suitable for areas with moisture but not direct water contact (general bathroom areas).
- Wet-Rated: Required for shower enclosures or areas with direct water exposure.
Always verify moisture-resistance ratings before purchasing fixtures, particularly for shower and tub areas.
Color Temperature Selection
Color temperature dramatically affects bathroom ambiance:
- Warm White (2700K-3000K): Creates cozy, inviting atmosphere.
- Cool White (3500K-4100K): Ideal for task lighting and grooming.
- Daylight (5000K-6500K): Provides clean, modern feel.
Maintain consistent color temperature throughout your bathroom for cohesive appearance. Most bathrooms benefit from the 3000K-4000K range, balancing warmth with adequate task lighting clarity.
Fixture Finishes
Coordinate lighting finishes with other bathroom hardware:
- Chrome: Classic, versatile, works with most styles.
- Brushed Nickel: Warm, subtle, hides water spots well.
- Brushed Gold: Trending for modern, luxurious designs.
- Matte Black: Contemporary, bold statement.
- Oil-Rubbed Bronze: Traditional, rich appearance.
Choose finishes that complement faucets, cabinet hardware, and towel bars for unified design.
Balancing Functionality and Style
Successful bathroom lighting balances practical needs with aesthetic preferences.
- Assess Your Needs: Determine whether you need task lighting, general lighting, or both. Task lighting focuses on specific areas (vanity, shower), while general lighting illuminates the entire space. Most bathrooms benefit from both.
- Zone Your Lighting: Install separate controls for different areas, one switch for vanity, another for shower, a third for ambient lighting. This provides flexibility to adjust lighting based on time of day and activity.
Consider Maintenance: Choose fixtures that are easy to clean and maintain. Bathrooms accumulate moisture and dust, so fixtures with smooth surfaces and accessible bulbs simplify upkeep.
Planning Your Lighting Design
- Start with Function: Identify primary activities in each bathroom area and ensure adequate lighting for those tasks.
- Add Style: Once functional needs are met, incorporate decorative elements that reflect your design vision.
- Think Long-Term: Invest in quality fixtures that will last. LED fixtures cost more initially but save money through reduced energy consumption and longer lifespan.
Professional Installation: For permitted remodels, work with licensed professionals who understand code requirements and can ensure proper installation and inspection approval.
Conclusion
Bathroom lighting profoundly impacts both functionality and aesthetics. By understanding layered lighting principles, meeting LED certification requirements, properly positioning vanity lights, and incorporating creative design elements, you create a beautifully illuminated space that serves your daily needs while expressing your style.
Whether you’re focusing on code-compliant LED fixtures, strategically placing lights to eliminate shadows, or choosing finishes that enhance your design, thoughtful lighting decisions transform your bathroom into a well-lit sanctuary.
Ready to illuminate your bathroom remodel? One Week Bath specializes in creating beautiful, functional bathrooms with expert lighting design and professional installation. Contact us today to start planning your perfectly lit bathroom.